Set up a photo booth in 5 minutes
No DIY skills required. Here are the steps, in order.
What you receive
A box containing:
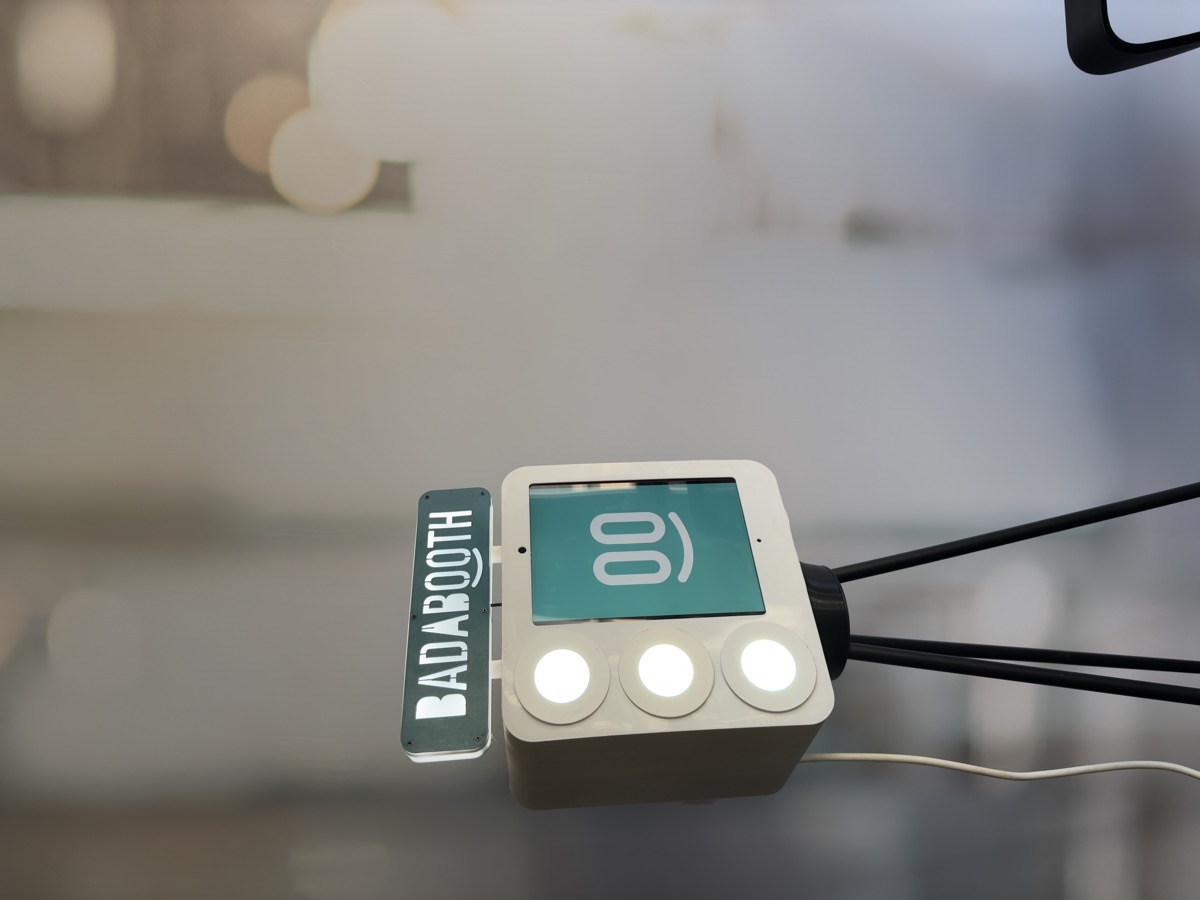
- The photo booth
- The legs (2 pieces)
- The light-up sign
- The printer (paper already loaded)
- The cables (booth power + printer)
- The quick-start guide
- The prepaid return label
The 4 steps
1. Screw on the legs (2 min)
The legs screw onto the base of the booth by hand. No tools needed.
2. Fit the light-up sign (30 sec)
It slots onto the top of the booth. Magnetic clip.
3. Plug in (1 min)
One cable for the booth, one cable for the printer. Two power sockets.
4. Switch on and test (30 sec)
Press the button. The home screen appears. Take a test photo to check that printing works.
That’s it. No Wi-Fi to configure, no password, no software.
Where to set it up
Good spots:
- Near the refreshments area or the dance floor
- In a wide hallway or an adjoining lounge
- Against a plain wall (the best photo background)
What you need:
- A power socket less than 3 metres away (or an extension lead)
- 2m × 2m of clear space in front of the booth
- No direct sunlight on the screen
By type of venue
Village hall: easy, with sockets available and plenty of space.
Château / estate: check the sockets in the room you’ve chosen. Stone walls make a lovely background.
Barn: watch out for the electrics, and bring an extension lead if the sockets are far away.
Garden / outdoors: must be under cover (tent, pergola). No rain, no direct sunlight.
If something goes wrong
| Problem | Solution |
|---|---|
| The screen won’t switch on | Check the plug, wait 30 seconds |
| The photo won’t print | Check that the printer is plugged in and switched on |
| The paper is jammed | Open the printer, remove the stuck paper, restart |
| The image is too dark/light | Reposition the booth (avoid backlighting) |
Our support team is available by phone 7 days a week if needed.
Packing away (5 min)
- Switch off the booth and the printer
- Unplug the cables
- Remove the light-up sign
- Unscrew the legs
- Put everything back in the box
- Stick on the prepaid return label
- Drop it off at a UPS access point